Cleaning the Machine
You will need to clean the lens on the lid frequently—you will notice the preview on the browser will get dirty/foggy.
Additionally, you will need to clean other parts of the machine when it is in heavy use. You will notice that the machine will no longer be cutting consistently or is misaligned.
Glowforge Pro®
Maximum Graphic Size: 11” x 19.5”
Maximum Material Size: 18” x 20”
Maximum Material Thickness: .25”
Turn on the Exhaust Fan (wall switch behind machine)
Turn on Glowforge (switch on the back right side)
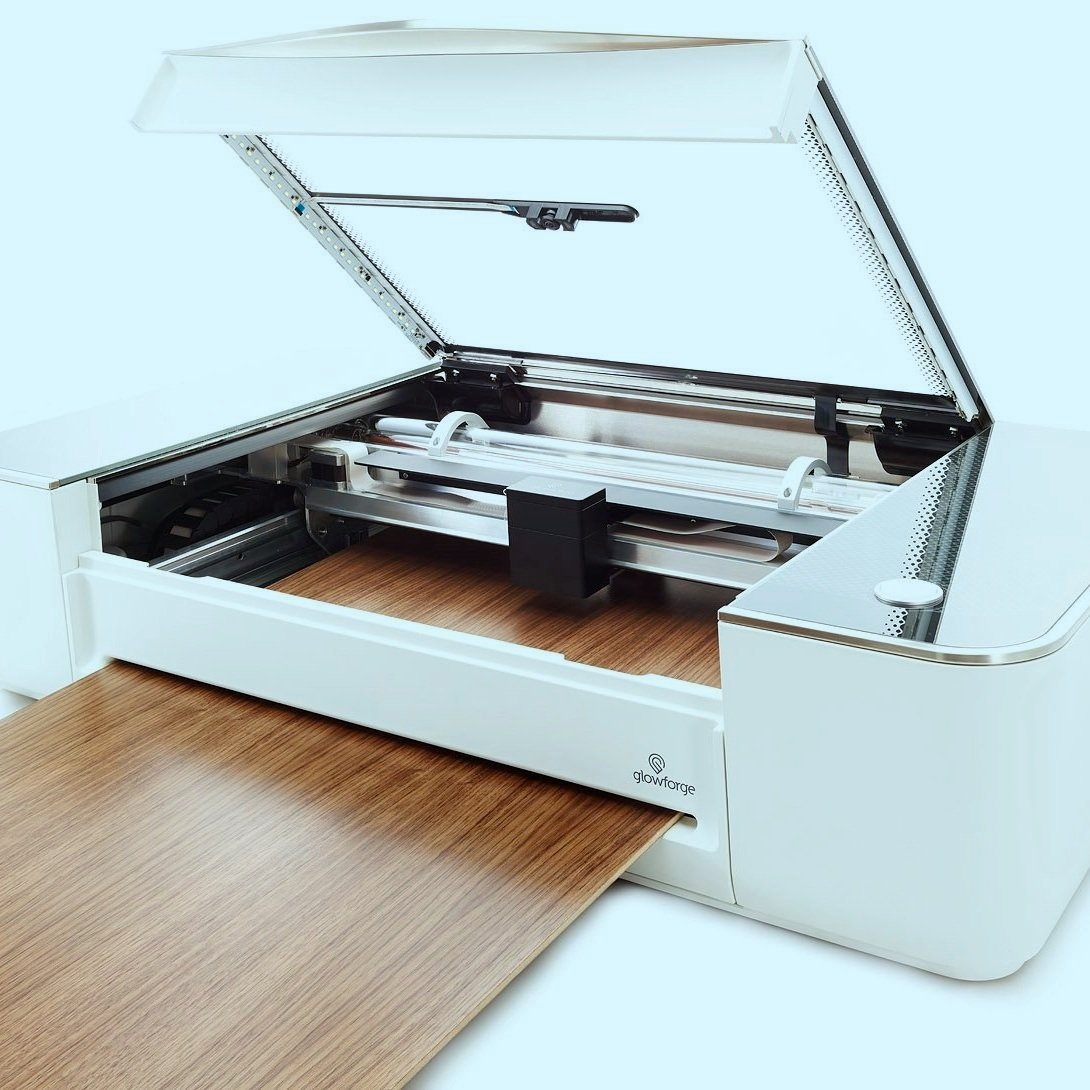
Open the lid and place the material in the machine on the crumb tray, make sure it does not stick out, and block the carriage from moving. Use tray pins to keep the material flat or secure if you think it will move.
Open Browser and visit Glowforge Account
User Name: ska001
Password: glowforgeMC!
Select the “Create A New Design” button and choose the appropriate selection:
Create: You can make simple shapes, add text, etc within the application.
Upload: Upload a SVG, PNG, or JPG file
Trace: Use the camera to trace a drawing.
Place the graphic within the highlighted area over the material you have inserted. It may take a minute for the Glowforge to get an accurate preview of the material every time you open the lid.
Select the appropriate material* you are using by selecting the button on the top left. *I suggest you test the setting on the material if you are unsure by creating a small shape and cutting it out before you complete a more complex job.
Wood Materials:
Use the custom cut settings saved in the list (on the left side menu).
Manually input the thickness (.125”)
Acrylic:
Use the Glowforge-provided settings (they will work)
Each group (same color in digital file) will show up as a separate layer on the left panel.
You need to enter the correct settings for each of these layers.
Select “Print” when you are ready to start the laser cut job.
The browser will process the graphics and give you a time estimate.
The machine will auto-focus the lens to make “preview” adjustments to your material—you can move the graphic after you press print if you need to change its placement.
Select the Flashing Blue button on the machine when you are ready to start the job.
Do not leave the machine unattended.
If something is wrong and you need to cancel the job, you can open the lid and the job will automatically cancel itself.